🧭 Project Overview
This project outlines the design and construction of two custom benches to form an L-shaped seating arrangement for a kitchen corner. The objective was to replace an underwhelming couch setup with a solution that offered more seating, storage, and comfort — all integrated into a cohesive, functional unit.
🧠 Design Inspiration
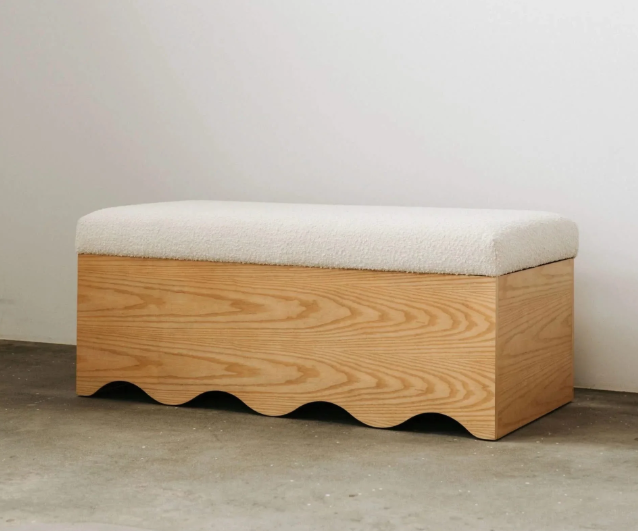
The idea emerged from the need to better use a corner space in the kitchen. The previous setup lacked seating capacity and comfort, and it provided no storage. After exploring CNC-cut plywood bench designs, I found an example that offered the clean lines and modular form I was after. This formed the basis of the project direction — boxy geometry, built-in storage, and a sharp, Scandinavian-inspired silhouette.
🧰 CAD & Material Planning
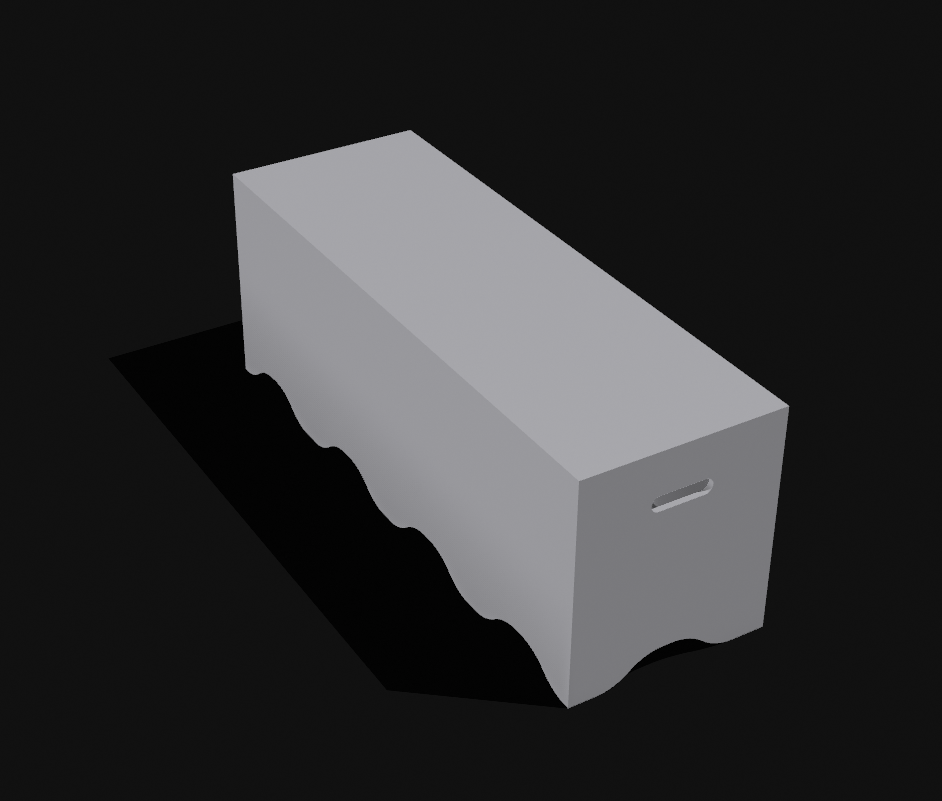
Design work began in Shapr3D, where the benches layout was mapped to scale. Materials were selected early: 12mm structural plywood for the body and 17mm for the lids. Each panel was designed with rabbet joints on the vertical walls to create strong edge-to-edge bonding. A dado joint was added to the base to help seat vertical panels into place and allow precise gluing.
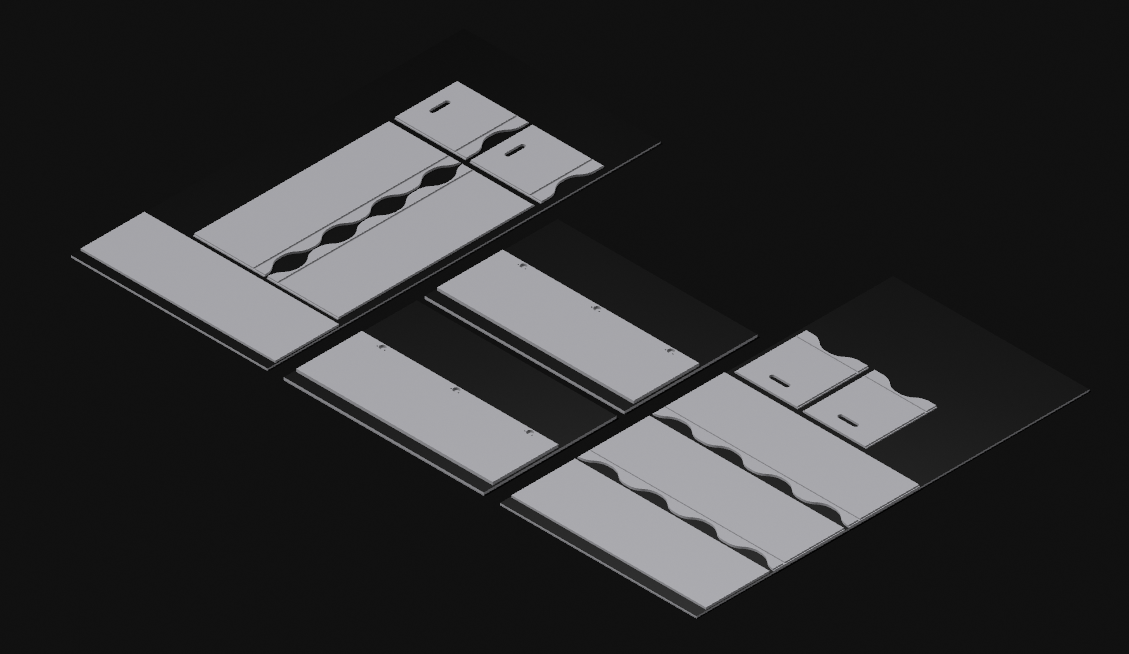
Due to tight material constraints, careful nesting and layout was essential. Panel dimensions were aligned to maximize the sheet use with minimal offcuts. I laid everything out over multiple plywood sheets for the CNC.
🖥️ CNC Fabrication
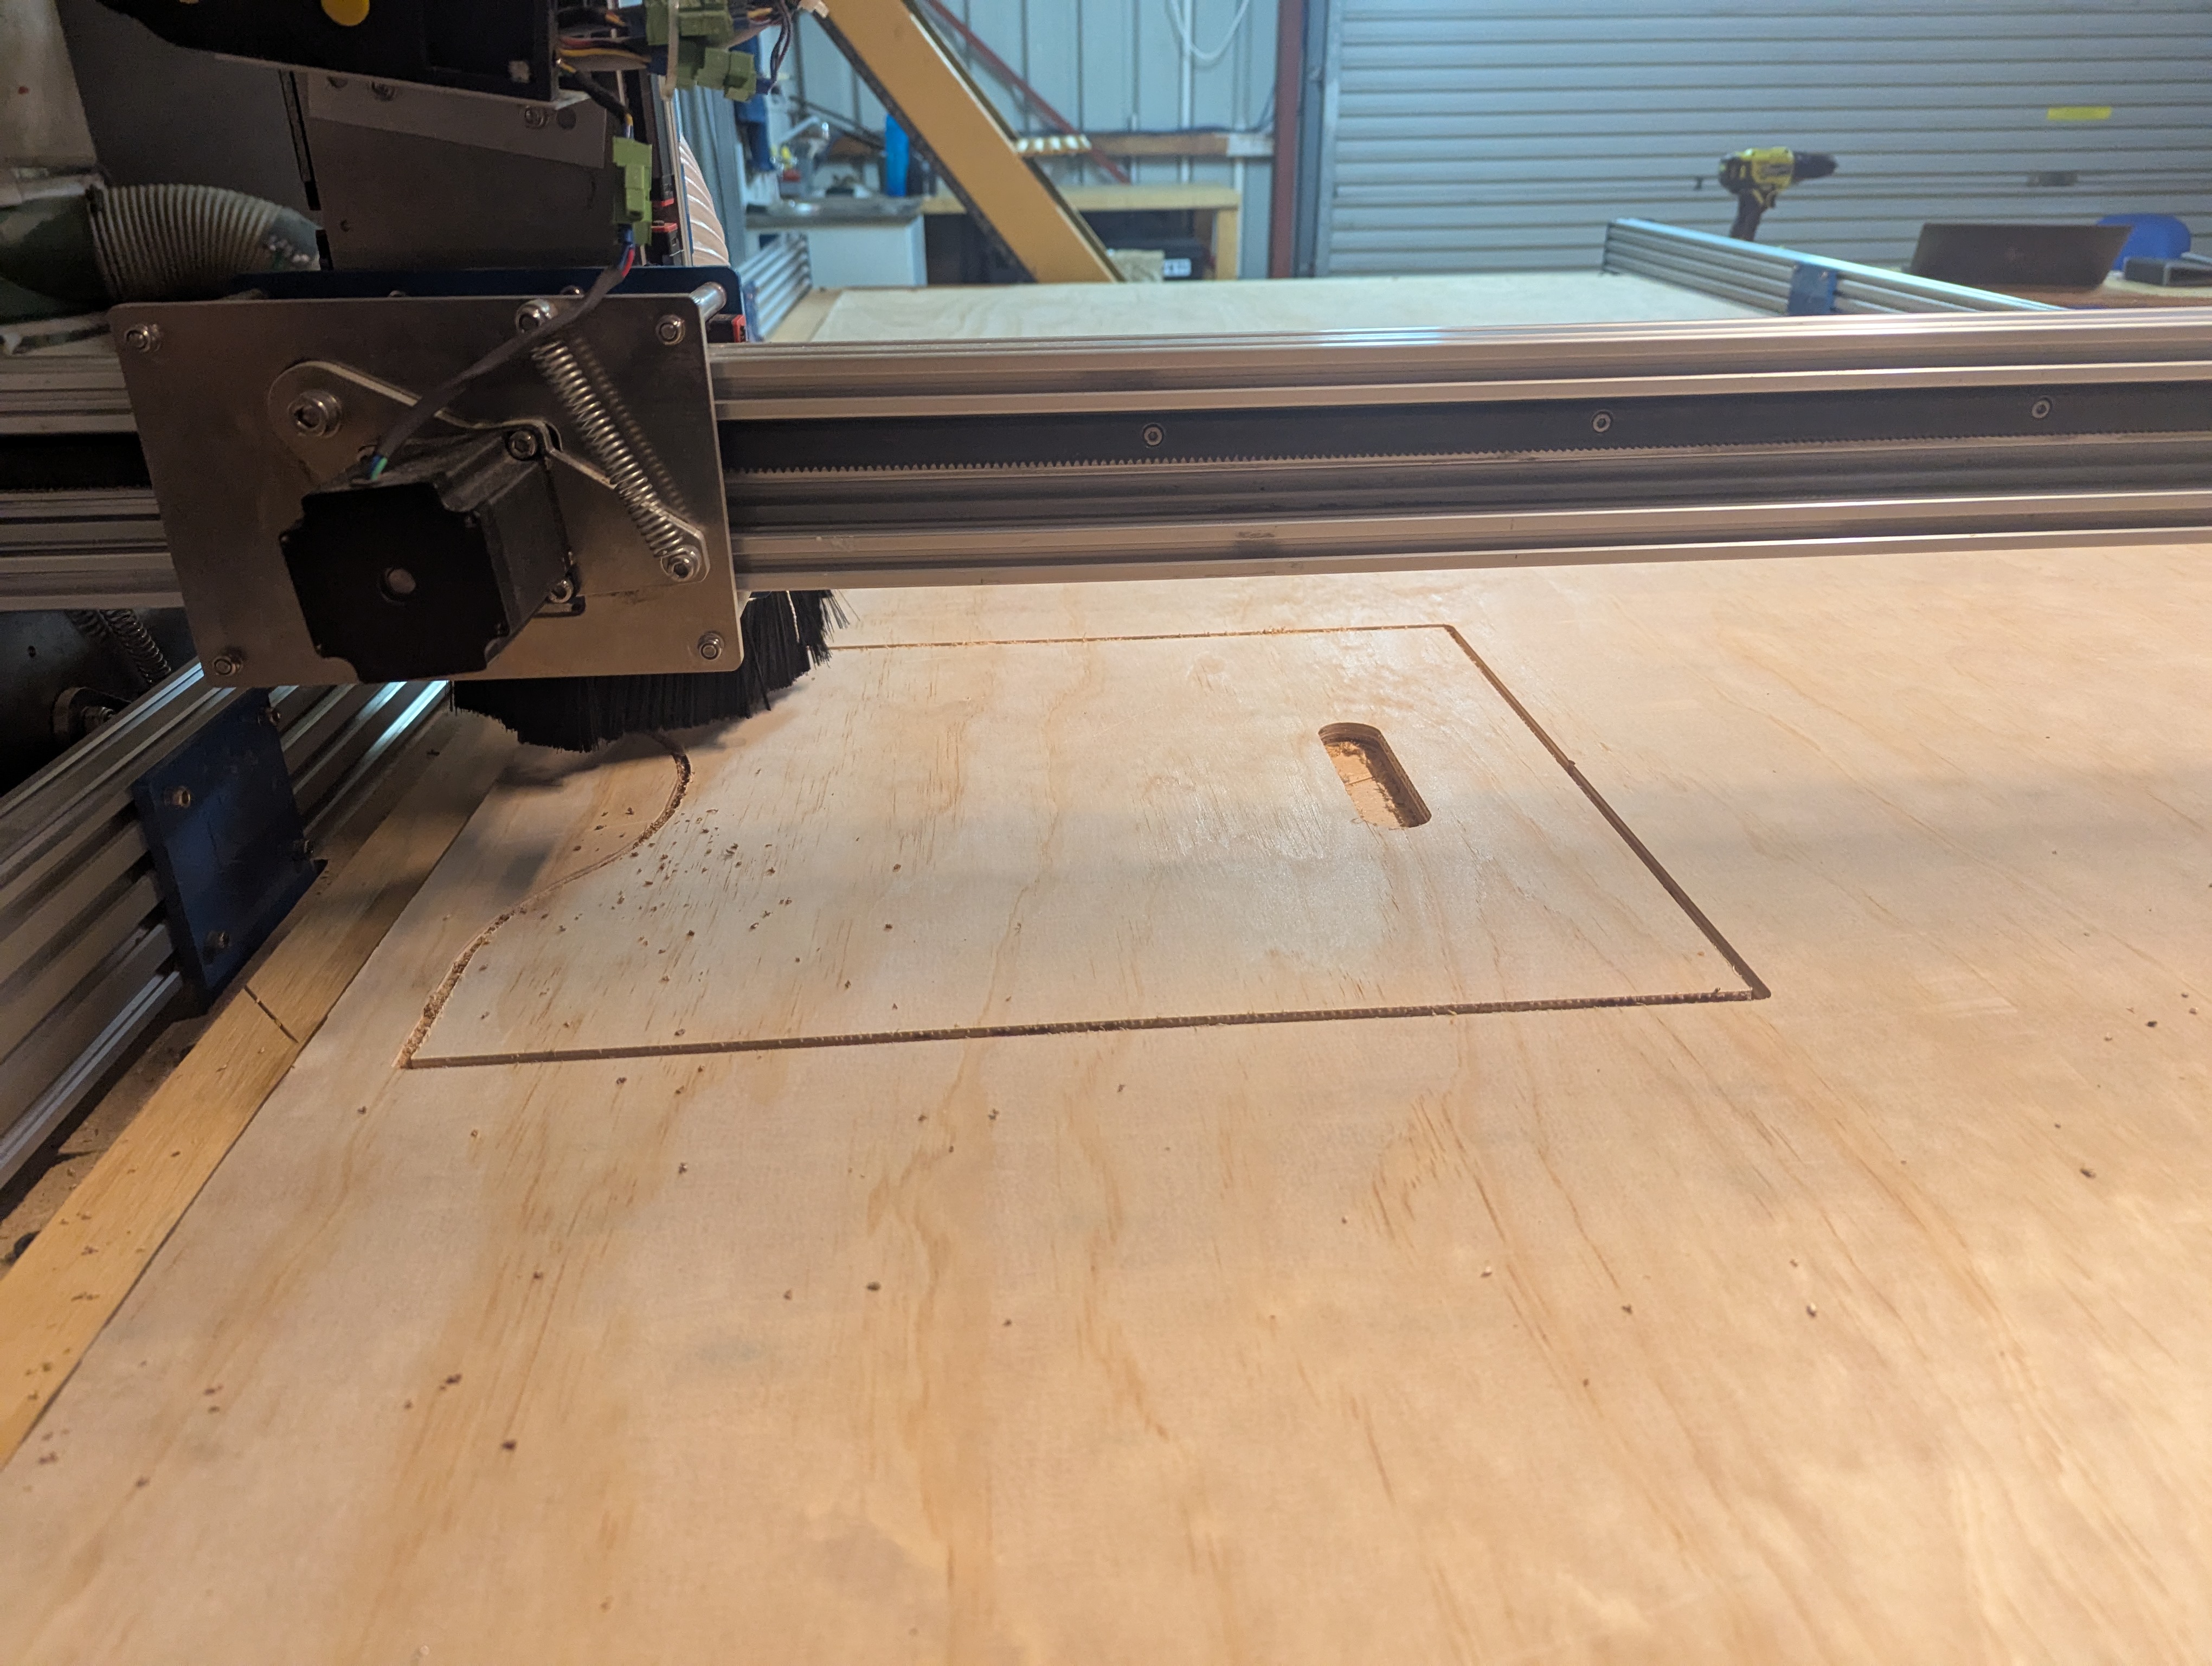
The digital layout was exported and toolpaths prepared in Fusion 360, then machined using a BlueCarve Full Sheet Trax CNC router. All parts were cut in a 2-hour supervised run, with clean edges and tight tolerances throughout. Given the scale of the panels and the tight fit of joints, accuracy here was crucial — a single miscut could have compromised the entire build.
🧱 Assembly & Joinery
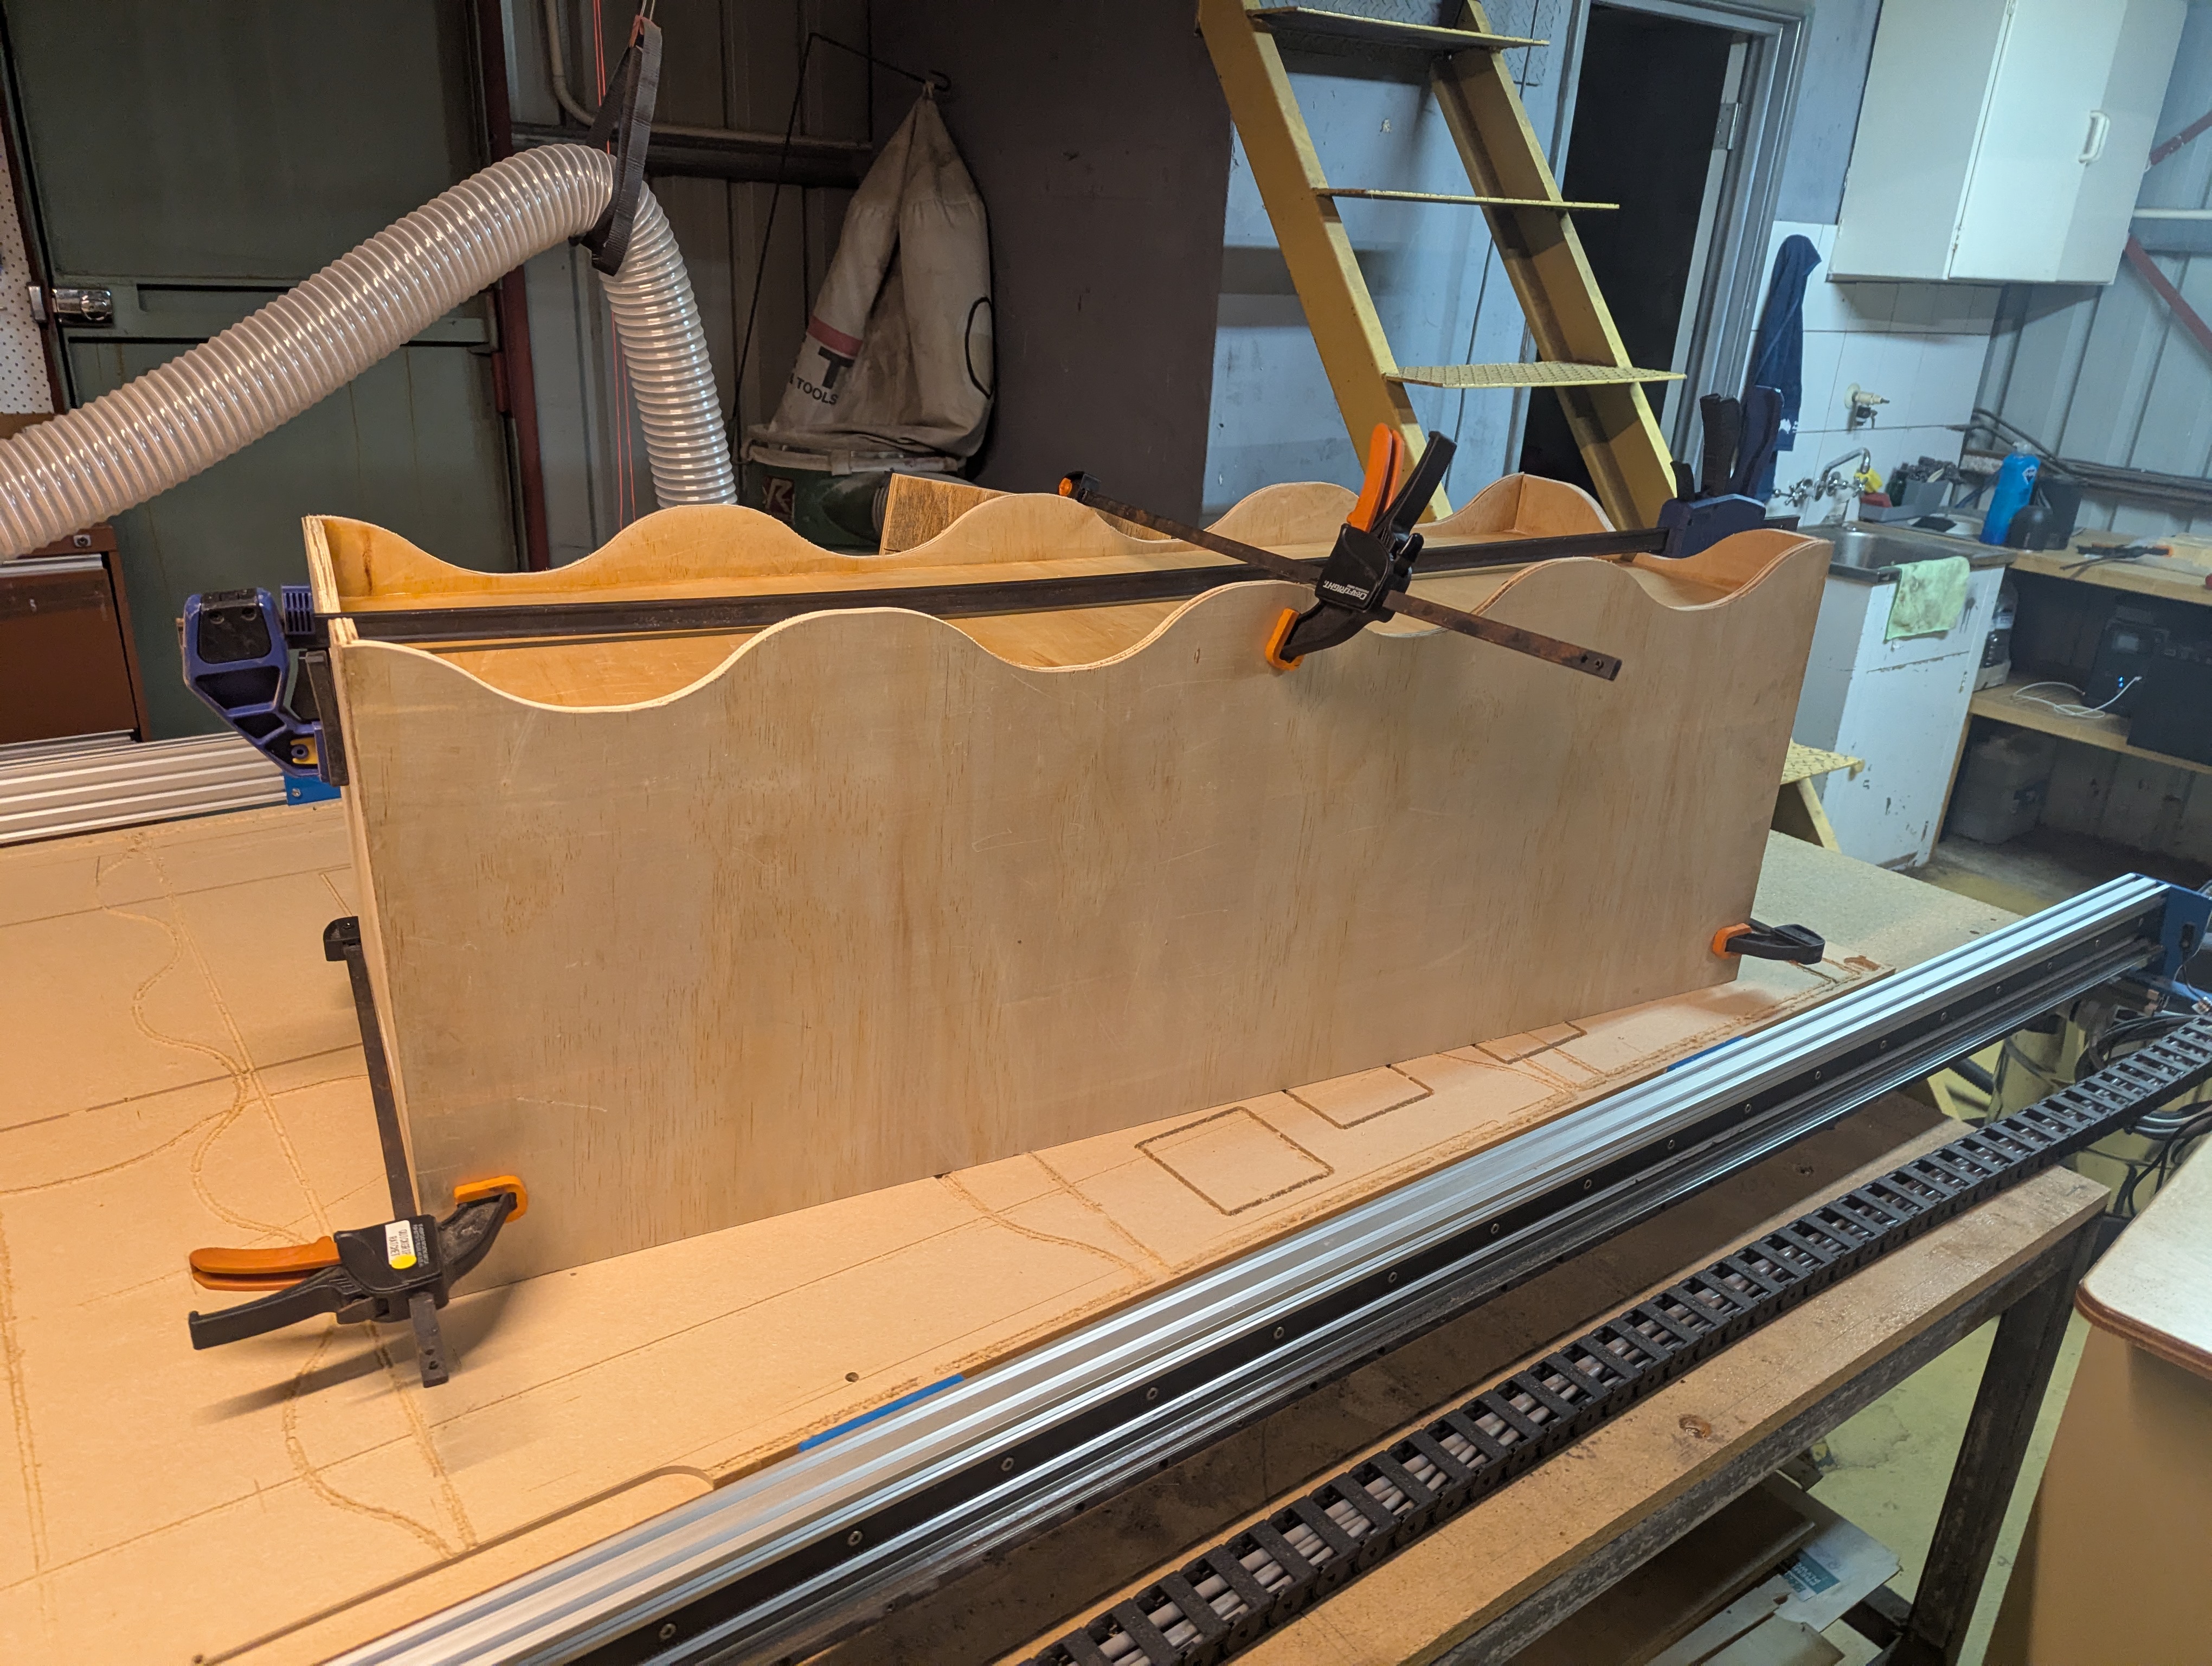
Assembly began immediately after cutting. Joints were bonded with PVA glue, with clamps applied to maintain compression overnight. The rabbet and dado joint system proved effective, giving the frame immediate rigidity. After curing, I routed out integrated hand slots on the front faces, trimmed edges where tolerance allowed overlap, and thoroughly sanded the entire frame.
🧵 Upholstery & Hinges
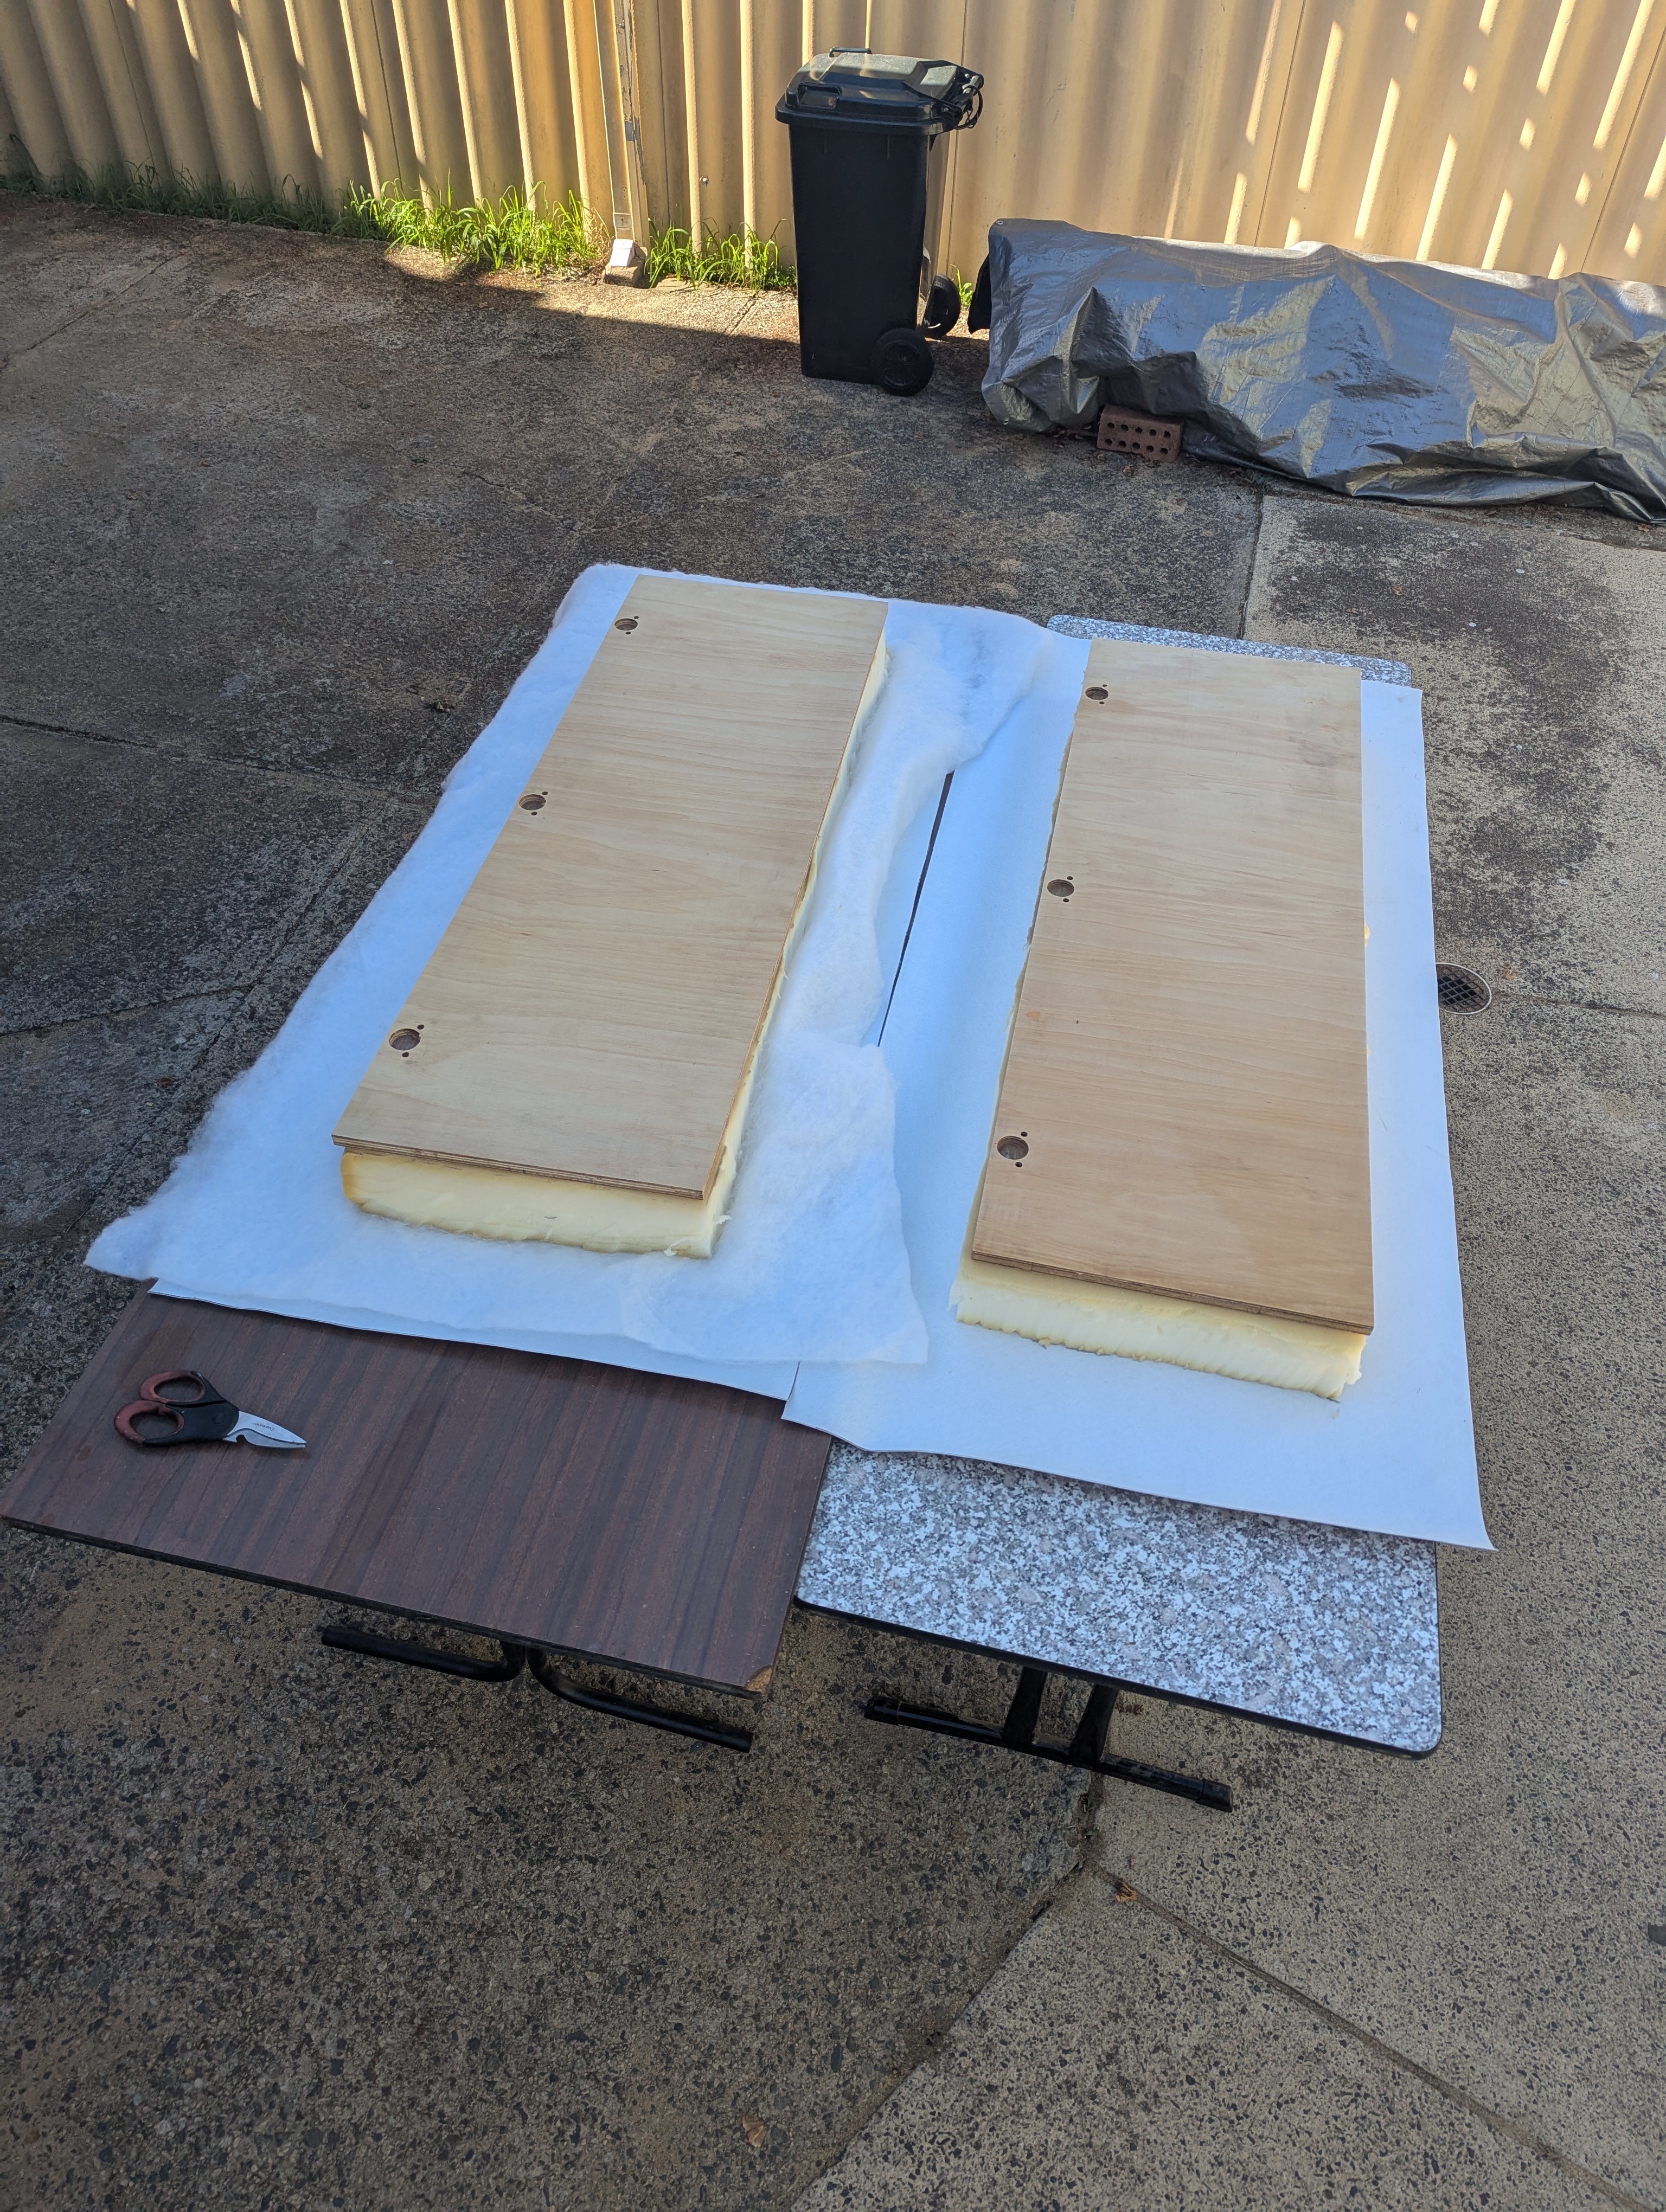
For the seating surface, I upholstered the 17mm bench lids using foam cut from a mattress, batting, and a stretchable faux leather fabric. Each piece was tensioned and stapled to the rear of the lid panel, resulting in a seamless cushion top. Hinges were pre-considered in the CAD design and were mounted afterward to allow smooth lift access to the storage inside.
🧴 Final Finish
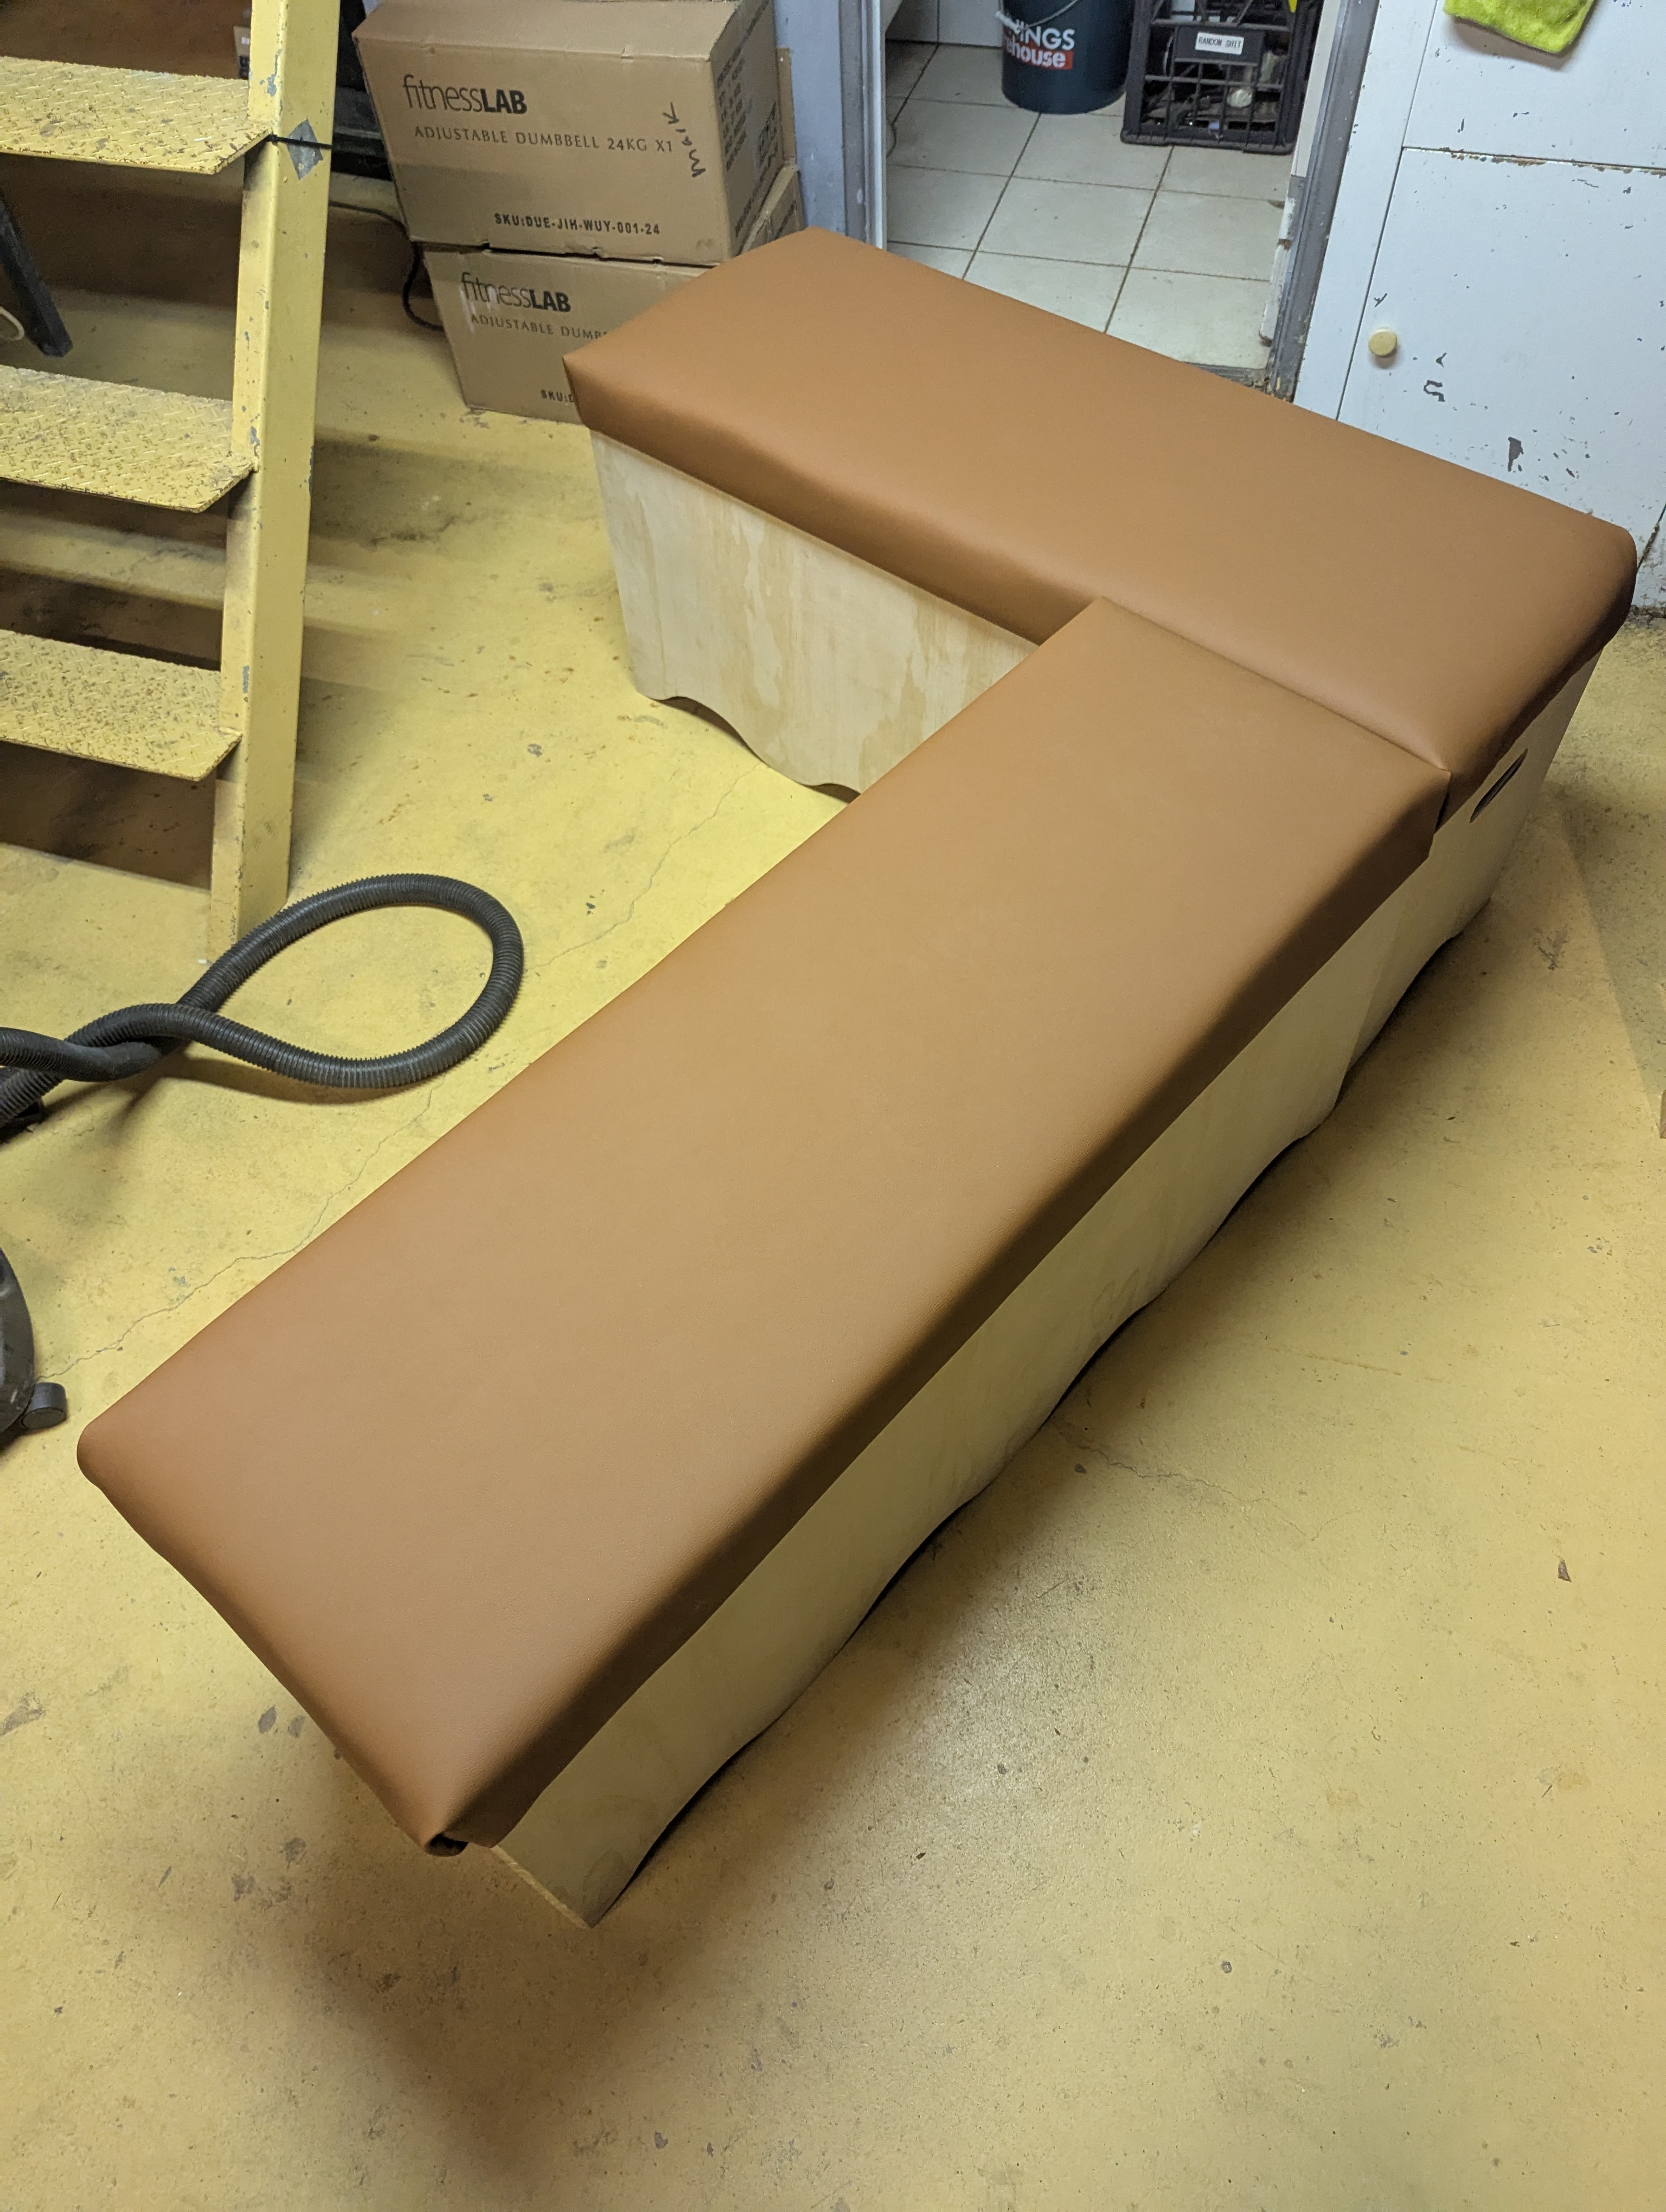
A final protective varnish was applied to the exposed plywood. This not only preserved the natural grain and color of the wood but also sealed it against spills and wear in the high-traffic kitchen area. The end result is a clean, functional, and custom-fit seating system that maximizes space and utility while maintaining a minimal design language.