🧭 Introduction
For our housewarming 🏠, we built a quick prototype of a reactive LED light curtain — not as a permanent fixture, but as an experiment to see what we could achieve visually before integrating more complex tools like TouchDesigner.
The aim was to create something modular, responsive, and affordable, allowing for fast testing and future expansion. The total build cost came to around $100 AUD, using mostly off-the-shelf components and spare materials we already had, like chicken wire and timber.
This initial prototype used WS2812b LEDs, an ESP32 microcontroller running WLED, and an omnidirectional microphone to drive sound-reactive effects 🎶.
🧰 Hardware Overview
We assembled the system using commonly available components with a focus on flexibility and reusability:
| Component | Description |
|---|---|
| ESP32-WROOM-32D | Wi-Fi + Bluetooth microcontroller flashed with WLED firmware. Used to drive four LED data lines and interface with the microphone. |
| Power Supply | 5V 12A DC supply (S-60-5), converting 220V AC mains to 5V DC for LED power and ESP32 input. ⚡ |
| LED Strips | 4× WS2812b strings, each 10m long with 100 LEDs spaced at 9cm. |
| Microphone | INMP441 I2S omnidirectional mic, powered from the ESP32’s 3.3V rail. |
| Structure | Chicken wire grid stretched over timber bars for hanging and LED placement. |
| Wiring Materials | Wago connectors for power busses, JST connectors for LED power, copper wire for mounting. |
The power supply was grounded and wired to AC mains, distributing 5V through Wago connectors to each LED segment. The ESP32 DevKit board handled animation control and audio input, with each strip connected to its own GPIO pin for parallel data output.

⚡ Power Considerations
WS2812b LEDs require adequate current delivery, especially under full-brightness white — their highest draw scenario. Each LED can consume up to 60mA. With four separate LED strips, the individual and total current requirements were as follows:
| Strip | Number of LEDs | Max Current per LED | Total Current |
|---|---|---|---|
| 1 | 100 | 60mA | 6.0A |
| 2 | 100 | 60mA | 6.0A |
| 3 | 100 | 60mA | 6.0A |
| 4 | 100 | 60mA | 6.0A |
| Total | 400 | 24.0A |
Our 5V, 12A power supply was effectively underrated for peak performance, especially if all LEDs were to draw full current simultaneously. However, the unit size was a design consideration — and despite the shortfall, the setup functioned very effectively due to several practical factors:
- Conservative brightness settings in WLED greatly reduced peak draw
- Staggered power injection helped distribute load across the busses
- In real-world use, rarely all LEDs were on at max white, especially with dynamic effects
⚠️ Note: While the power supply didn’t meet the theoretical 24A demand, our setup remained cool, stable, and visually impressive. For larger-scale installations or maximum brightness effects, a higher-amperage or distributed power supply would be essential.
🛠️ Physical Assembly
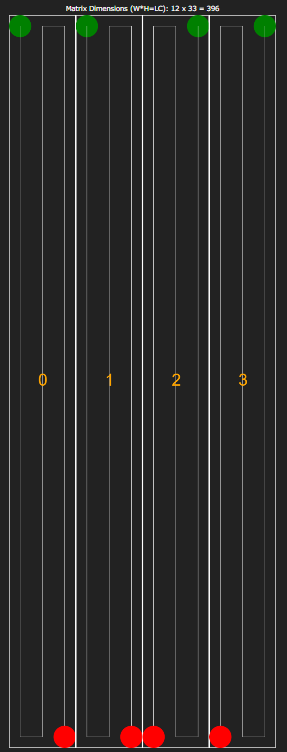
We sought to create a uniform grid appearance for a curtain-like display. The plan was to form a matrix with:
- 12 LEDs on the X-axis
- 33 LEDs on the Y-axis
- 1 extra LED, which we concealed to maintain symmetry.
📐 Grid Calculations
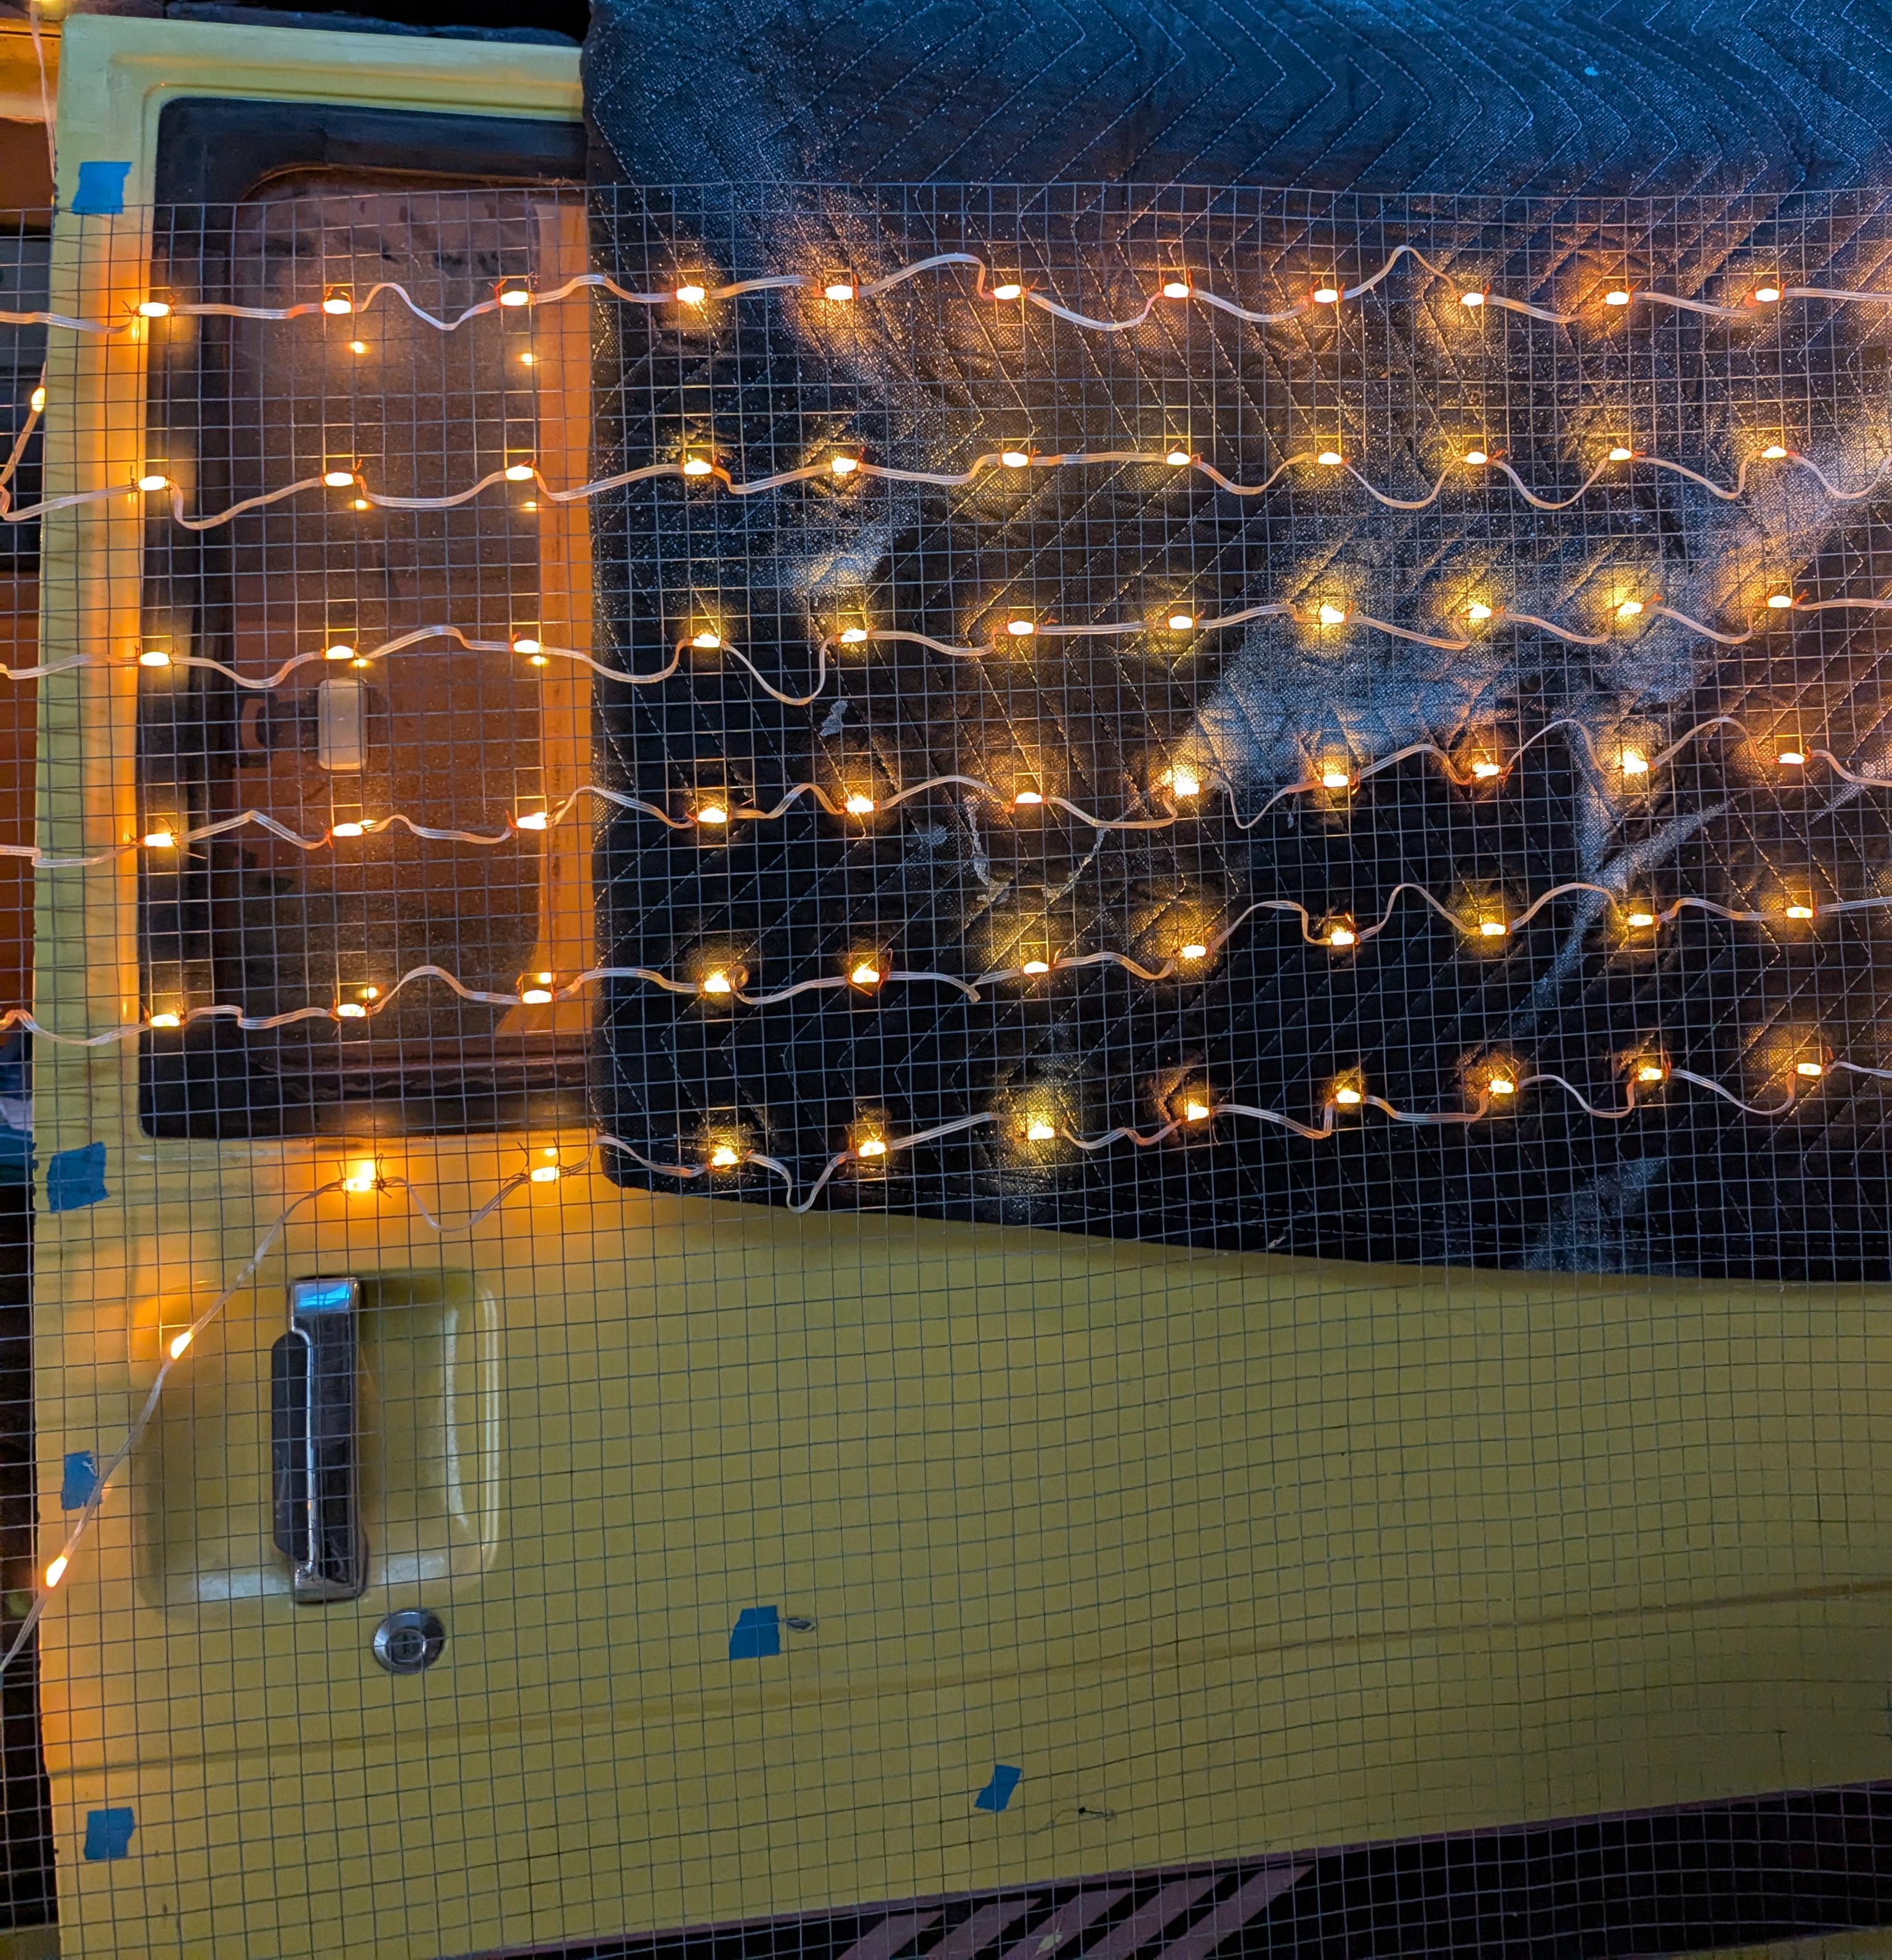
To maintain visual consistency, we enforced a 64mm LED spacing. Instead of measuring manually, we exploited the chicken wire’s natural grid, where each square was ~12.75mm. By spacing LEDs 5 grid units apart, we achieved near-perfect 63.75mm spacing — close enough for visual consistency.
🧵 Manual effort: Each LED was hand-tied with copper wire to the chicken wire grid. This was by far the most time-consuming part, taking several hours.
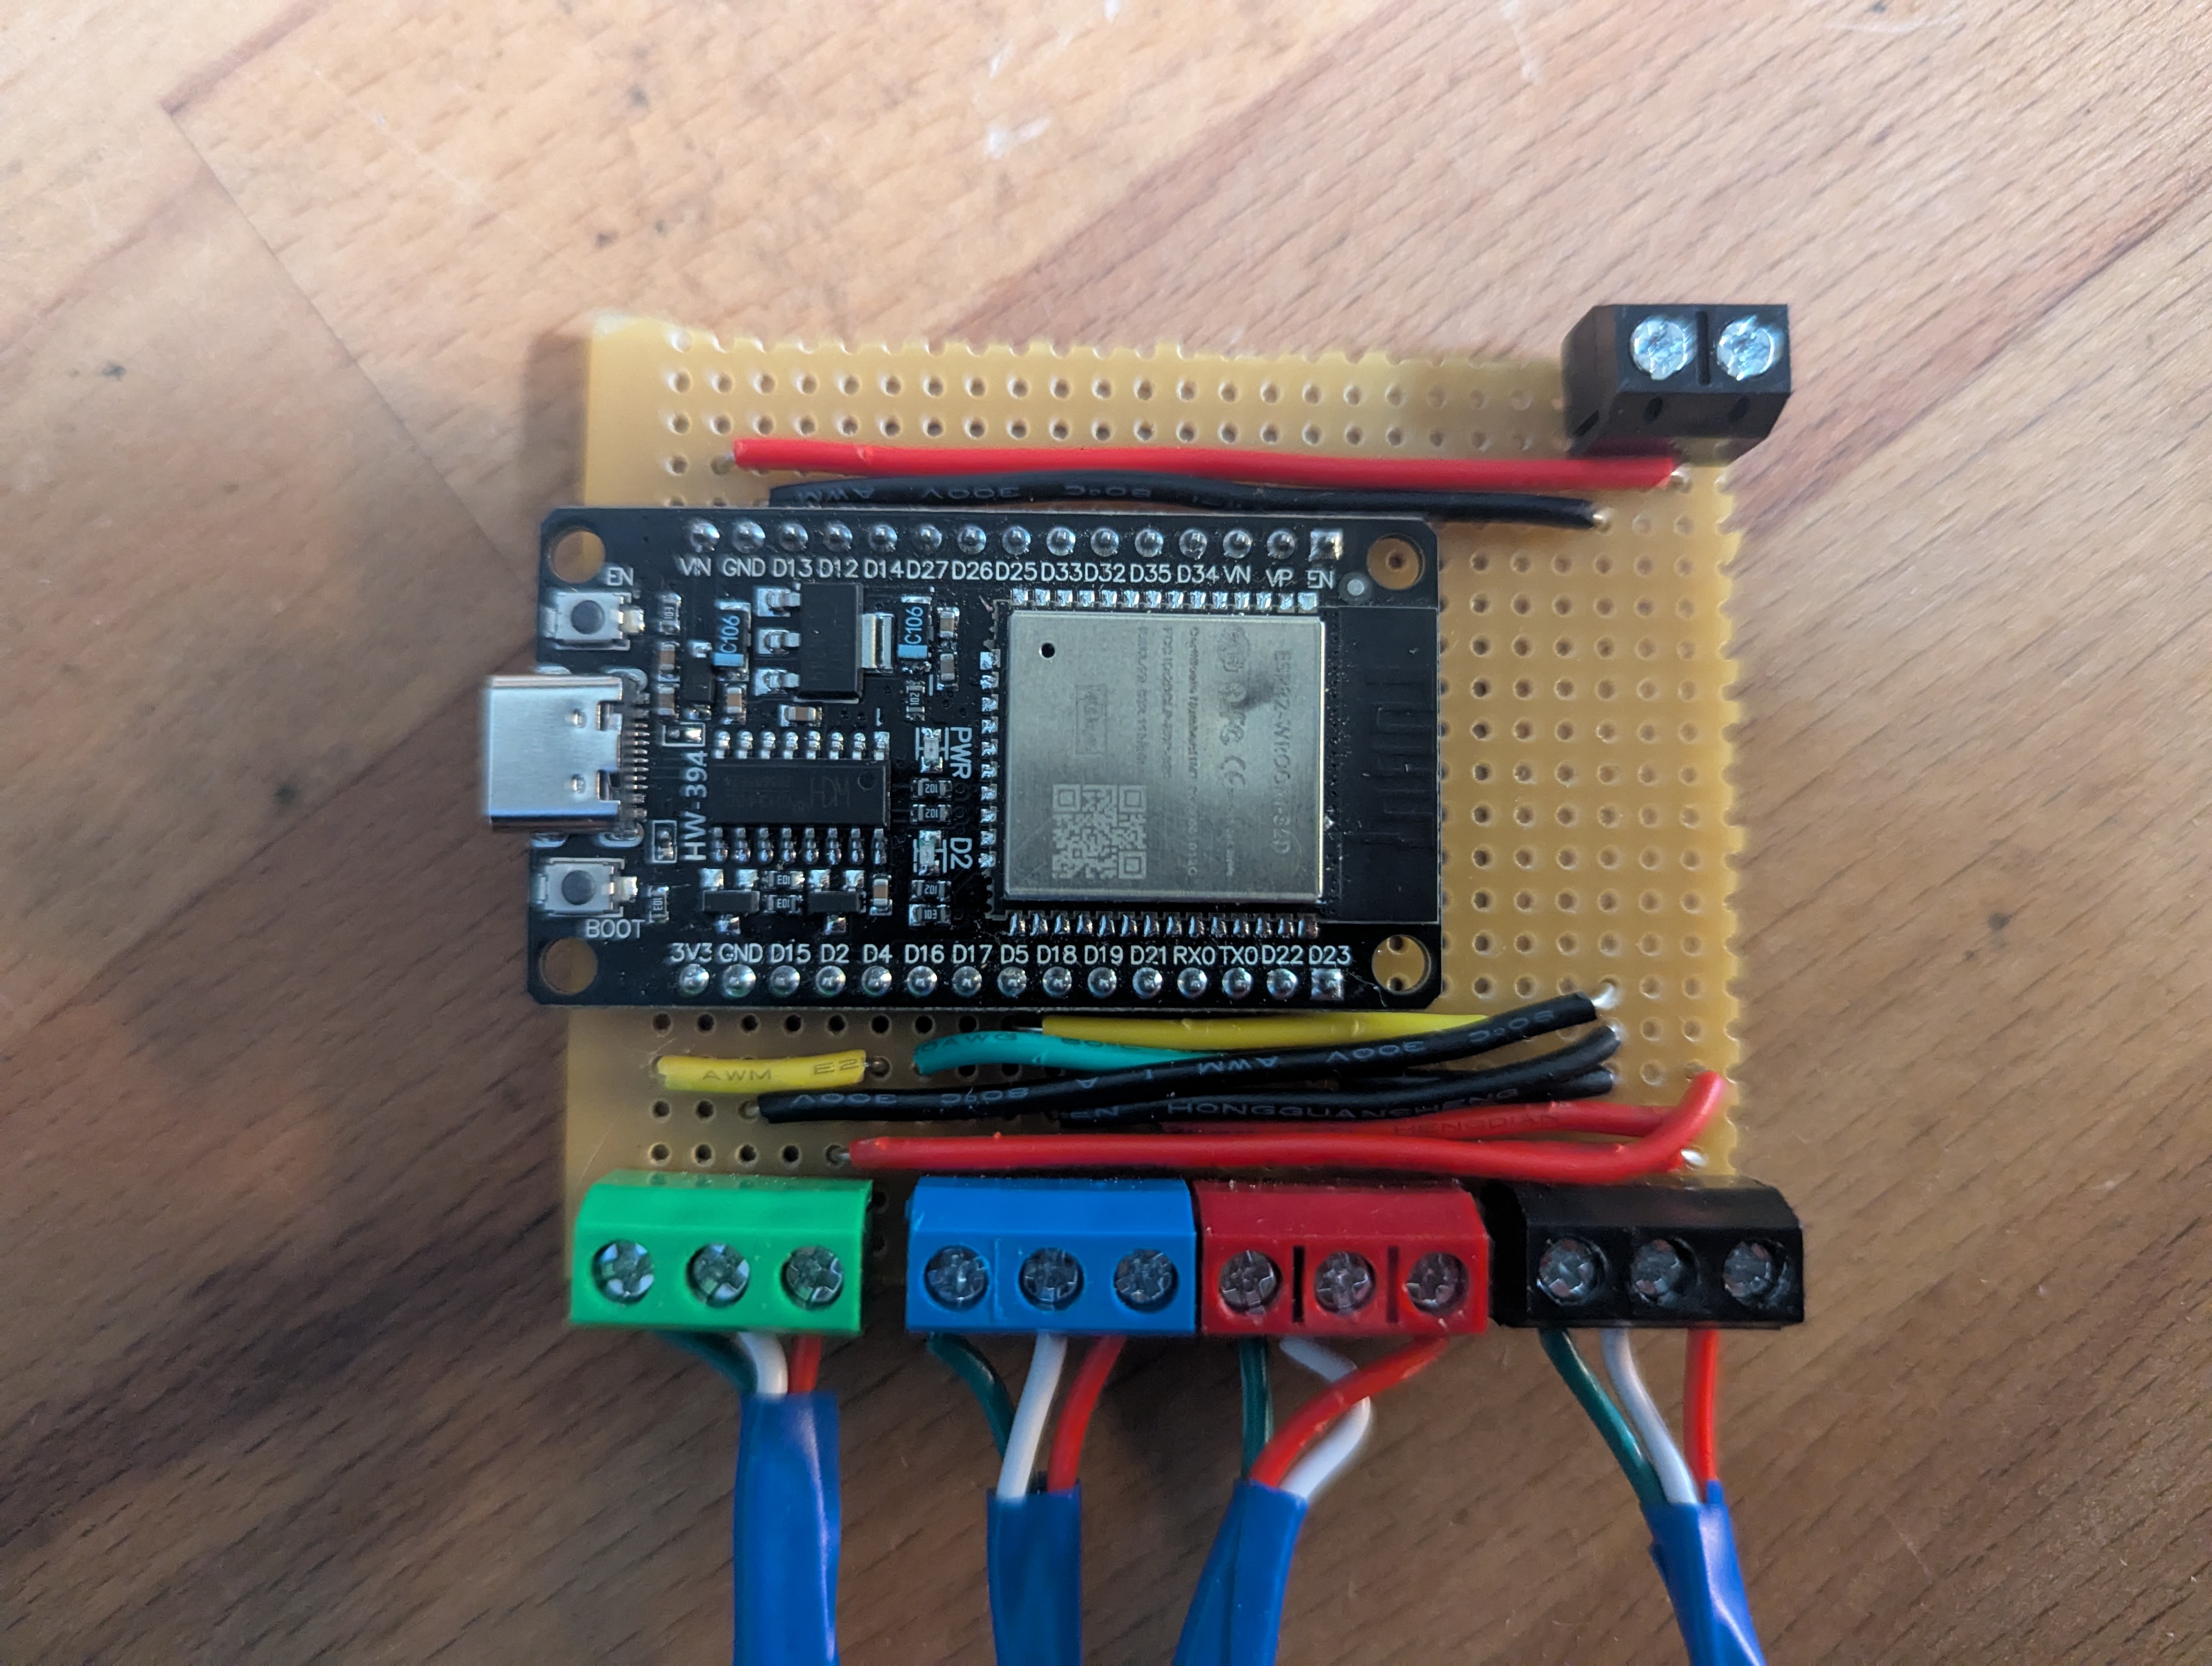
Below shows all the components finalized onto a veroboard.
🔌 Wiring and Configuration
- Power Bus: Shared via Wago connectors
- Data Lines: Each LED column was connected to a dedicated GPIO pin on the ESP32
- Microphone: Powered via 3.3V, with signal lines configured in the WLED UI
The LED matrix was wired in a serpentine pattern, then mapped in the WLED interface using its custom “LED matrix” layout tool, allowing for pre-defined animations and audio-reactive effects.
⚙️ WLED Configuration Highlights
- Segment Mapping: Set to matrix with serpentine layout
- Microphone Input: Enabled under “Sound Settings” in WLED (INMP441 pin assignments)
- Effects: Tested with color waves, sound-reactive bars, and ripple effects
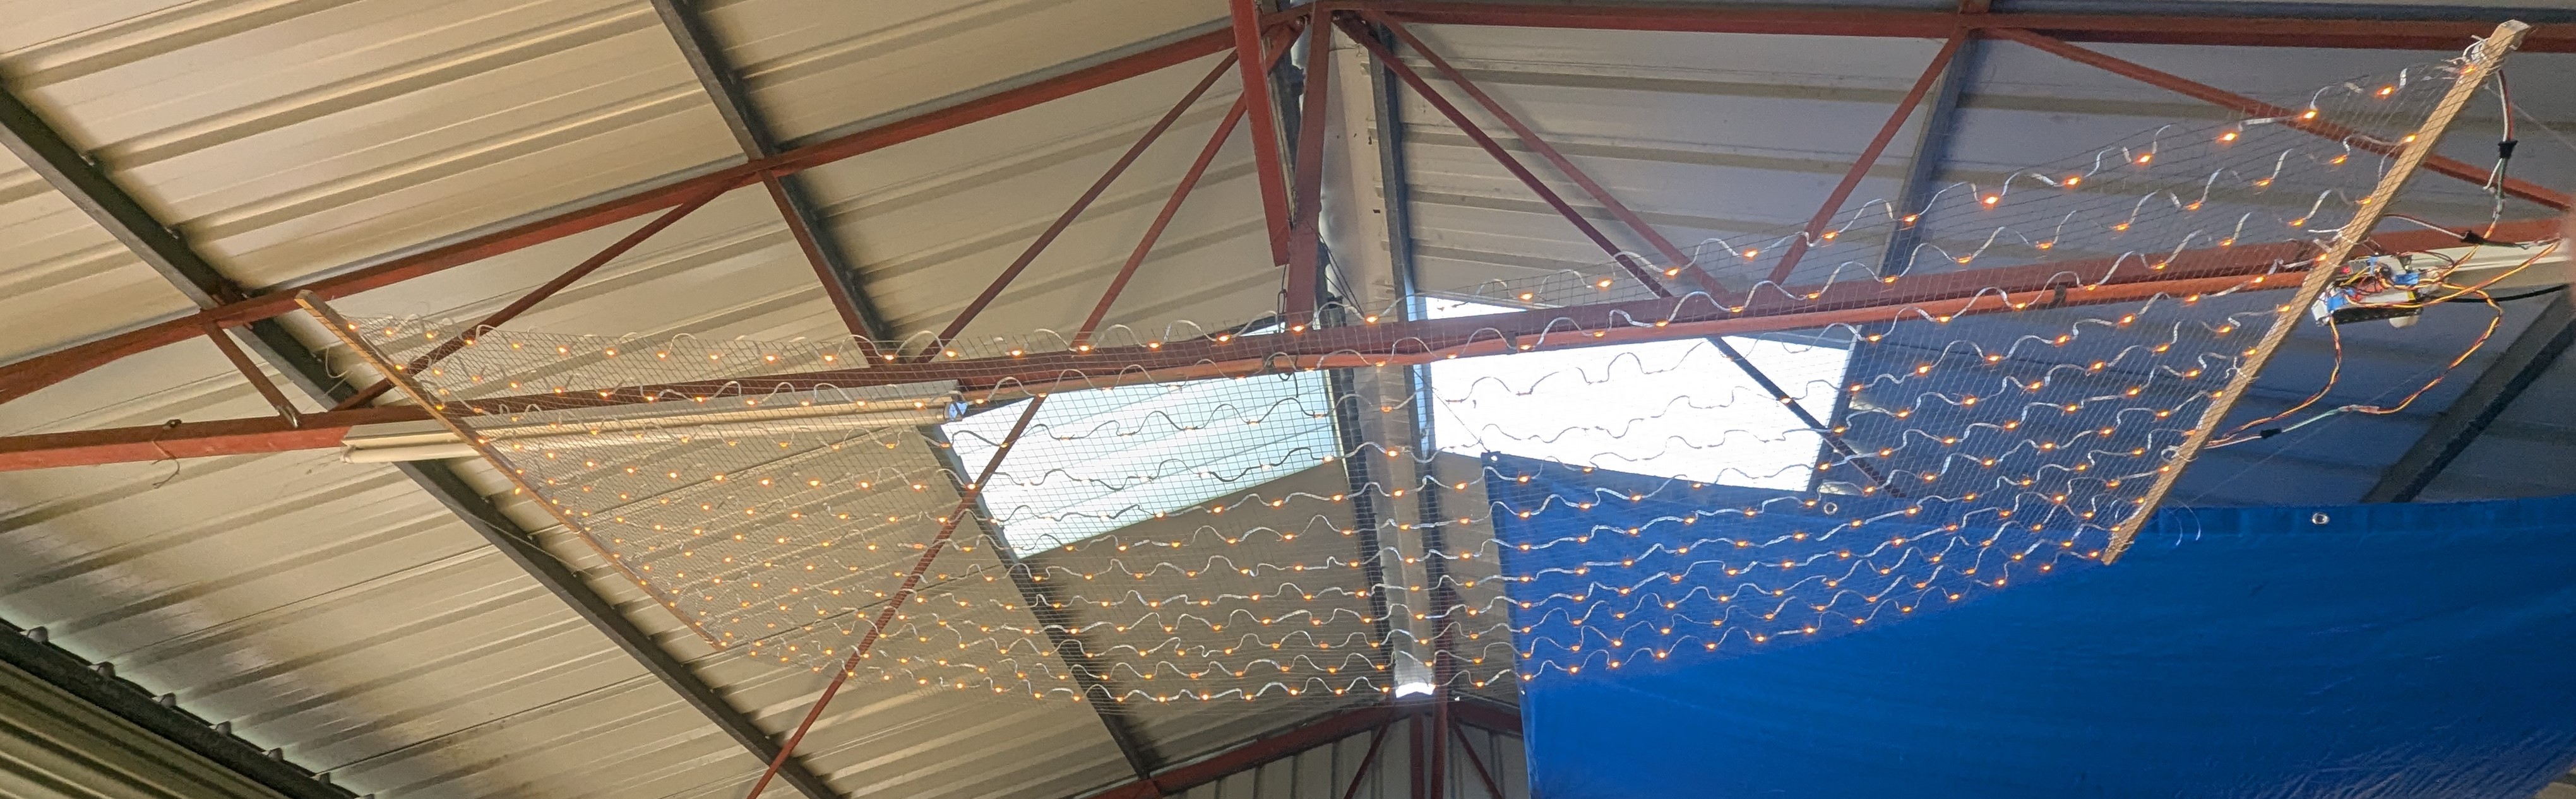
🎉 Final Result
The final effect was striking — a vibrant, sound-reactive curtain of light that added atmosphere and a wow-factor to the housewarming. The grid was responsive, symmetrical, and smooth in operation. With WLED’s easy UI and deep customization, this project successfully lays the groundwork for future integration into TouchDesigner for even more immersive real-time visuals.
✅ Conclusion
This prototype not only delivered on its celebratory purpose but provided valuable insights for scaling and controlling LED grids for reactive environments. The combination of ESP32, WLED, and modular components like WS2812b LEDs and Wago connectors proved cost-effective, flexible, and powerful.
Future directions include:
- Integrating with TouchDesigner via UDP or ArtNet
- Scaling the grid size
- Incorporating motion or gesture controls
For now, I’m trilled with what i’ve accomplished — and even more excited about where we can take it next 🚀.